Showing posts with label art. Show all posts

Tuesday, April 18, 2023

AN INEXPENSIVE IDEA FOR WALLS: FRAMED POSTCARDS

Do you love a wall full of art but not the price that comes with it? I can relate. I love full walls, but filling those walls can get expensive. 

I can't remember exactly how I came across this set of vintage-looking postcards from Amazon, but when I saw them, I had the thought that several of them framed alike and hung together on a grid would be a great idea somewhere in my house.


Originally, I thought about using them in my bathroom. They made me think about this room from the Southern Living Idea House that I visited in 2016 in Birmingham decorated by Lauren Leiss. 


Ultimately though, I used the cards in my kitchen. It got a partial face lift last summer. I painted it, and decided some of the cards would be perfect over a small table in the room. 

I chose to frame a few of the butterfly cards.


I bought a set of frames from Home Goods, and my go-to framers, The Frame Shack, framed them. They added the mats and finished them off perfectly. Here are the four I decided on. 


And here they are in their new home.


They turned out just the way I was hoping they would. I like them so much, I'm thinking about using some of the left over cards in other places in my house. 

Like this idea? Here are a few other sets of vintage cards for you to check out. 

SET 1     SET 2     SET 3     SET 4     SET 5 

And a few sets of gold frames with good reviews.

SET 1     SET 2     SET 3     SET 4     SET 5

Tuesday, January 25, 2022

NEW ART IN THE LIVING ROOM

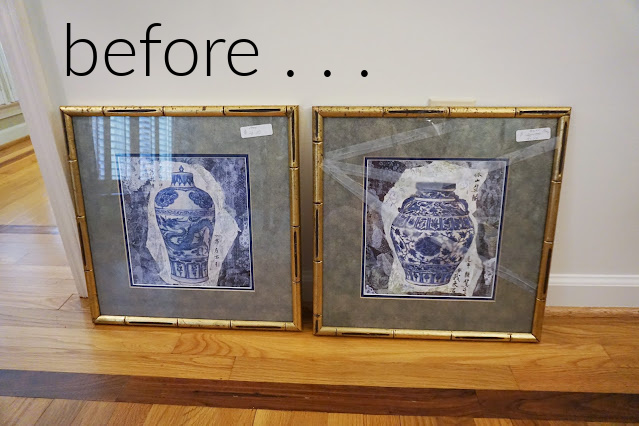
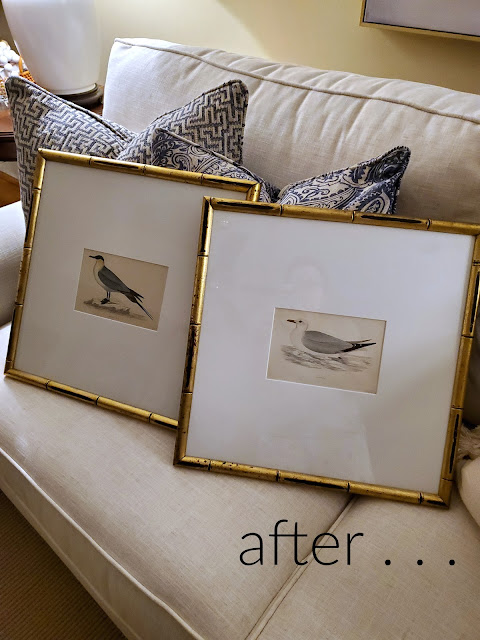
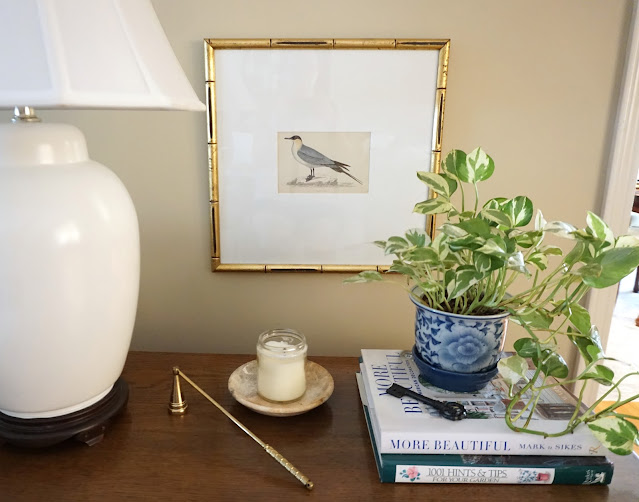
A few years ago when our oldest son moved to New Orleans to be near his girlfriend who was already living and working there, we went down one weekend for a visit. During our trip we stopped by an antique store near the French Market, and I came across these numbered vintage bird prints. 


I knew right where I wanted them to go, and how I wanted them to look. I took them to two different framers for estimates, and both estimates were around $125 + tax for each. I decided to wait on the project, and stuck it on the back burner. 

But, as luck would have it, a few months later, I found two pretty faux bamboo frames while thrifting one weekend. I didn't buy them at first glance, but when I got home and remembered the birds, I knew the frames would be perfect for them. I went back to the Alabama Antique Market as soon as I had a chance! One picture was $40 and the one with the broken glass was $25, AND they were 25% percent off. (48.75 + tax) 


My friends at The Frame Shack are great to work with. They helped me pick out the mat (who knew there were so many shades of white) and then they fixed me right up. ($55) 


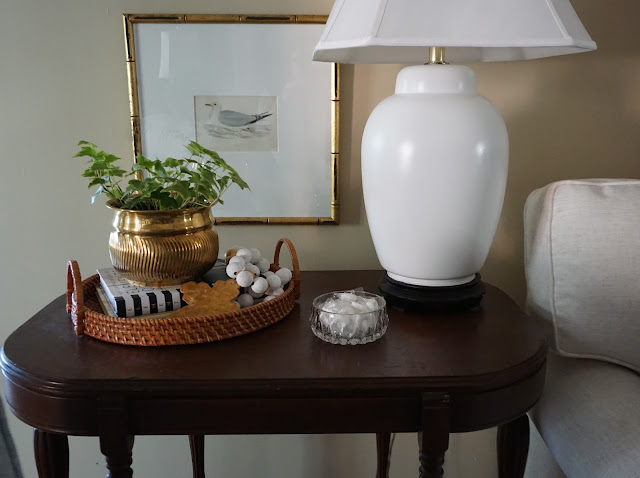
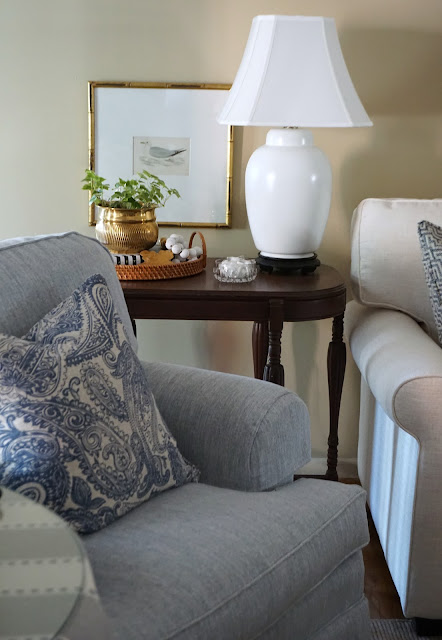
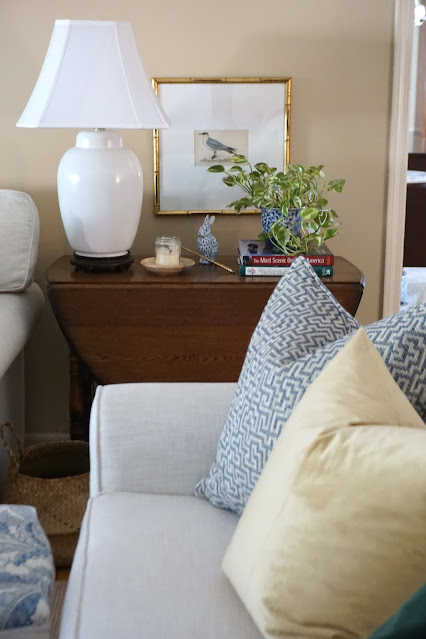
I don't think I could love them more. They were hung on either side of the couch above each of the tables. I really wanted to hang them together, and maybe one day they'll hang as a pair, but for now I think they look pretty good where they are. 

Left side...


Right side...


Once again, being a little patient and a little thrifty paid off. Grand total about 108, which beats 250. :-)

Here are a few of my other thrifting posts you might like. 


Tuesday, June 16, 2020

HOMEMADE ABSTRACT ART

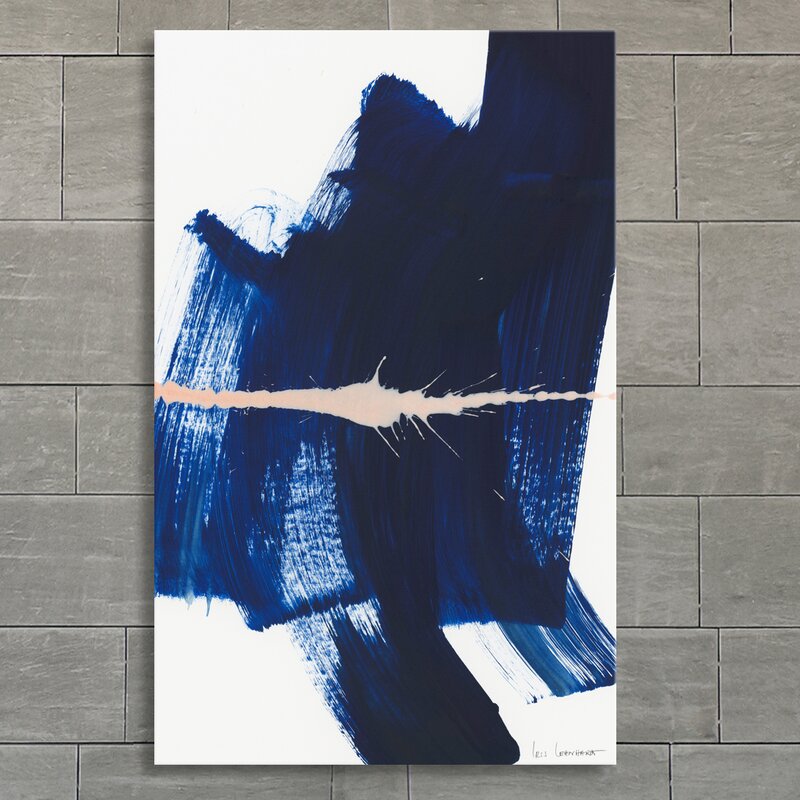
Abstract art is a current trend in home decor. I've decided I'm here for it--in small doses. It's definitely different, bold and funky, and everywhere. It's a interesting way to show off your playful side.

This picture is the work of Kayce Hughes.


This example of the art is from the Instagram account of Angela Fahl Interiors. I've just recently started following her. She has a pretty feed if you're looking for new inspiration. I'd never be brave enough for a black room, but I do like hers.


So, with those two examples in mind, I'll show you how you can add an original abstract to your décor for next to nothing.

I found this old framed print at the antique mall for $7. The frame was in great condition, and the mat is a light grayish blue, which works great in my living room.


First, I took everything apart.


My plan was to just flip the picture over and paint on the back of it. But the tape stuck to it in the dismantling process, so I had to move on to plan B.


We had two of these sketch pads that Santa brought one year, so I used a page from this and cut it to the size I needed. Card stock would have worked better. This didn't flatten out perfectly against the glass when I put it all back together. Luckily, you can't really tell.


I ordered this set of paint brushesthis bottle of paint, and this set of watercolors, and then went to work making swirlies, which spell check has just let me know is not a word. But you know what I mean.


I probably should have only used one color (like the examples), but I used two. Then, for some reason, I gave it a dash of black too. I only used a tiny amount of the black, so it really turned out more like a gray. I felt pretty good about my color combination.


For now it's leaning on a chest that once belonged to my parents, in a corner of the living room. One day I hope for it to be part of a gallery wall that I'm working on for over our couch.

I've done one other abstract project. It was for my dining room. If you missed that post, catch up on it here. What are your thoughts on the abstract trend? Leave a comment!

Kathryn

Wednesday, August 16, 2017

DIY ART FOR YOUR HOME

Today I'm sharing a DIY art project that helped me wrap up the dining room refresh. It only took one afternoon and just a few materials. 

What I used

Copy paper or card stock
Ruler/Yard stick
1/2 inch paint brush
Painter's Tape or Frog Tape
Paint 


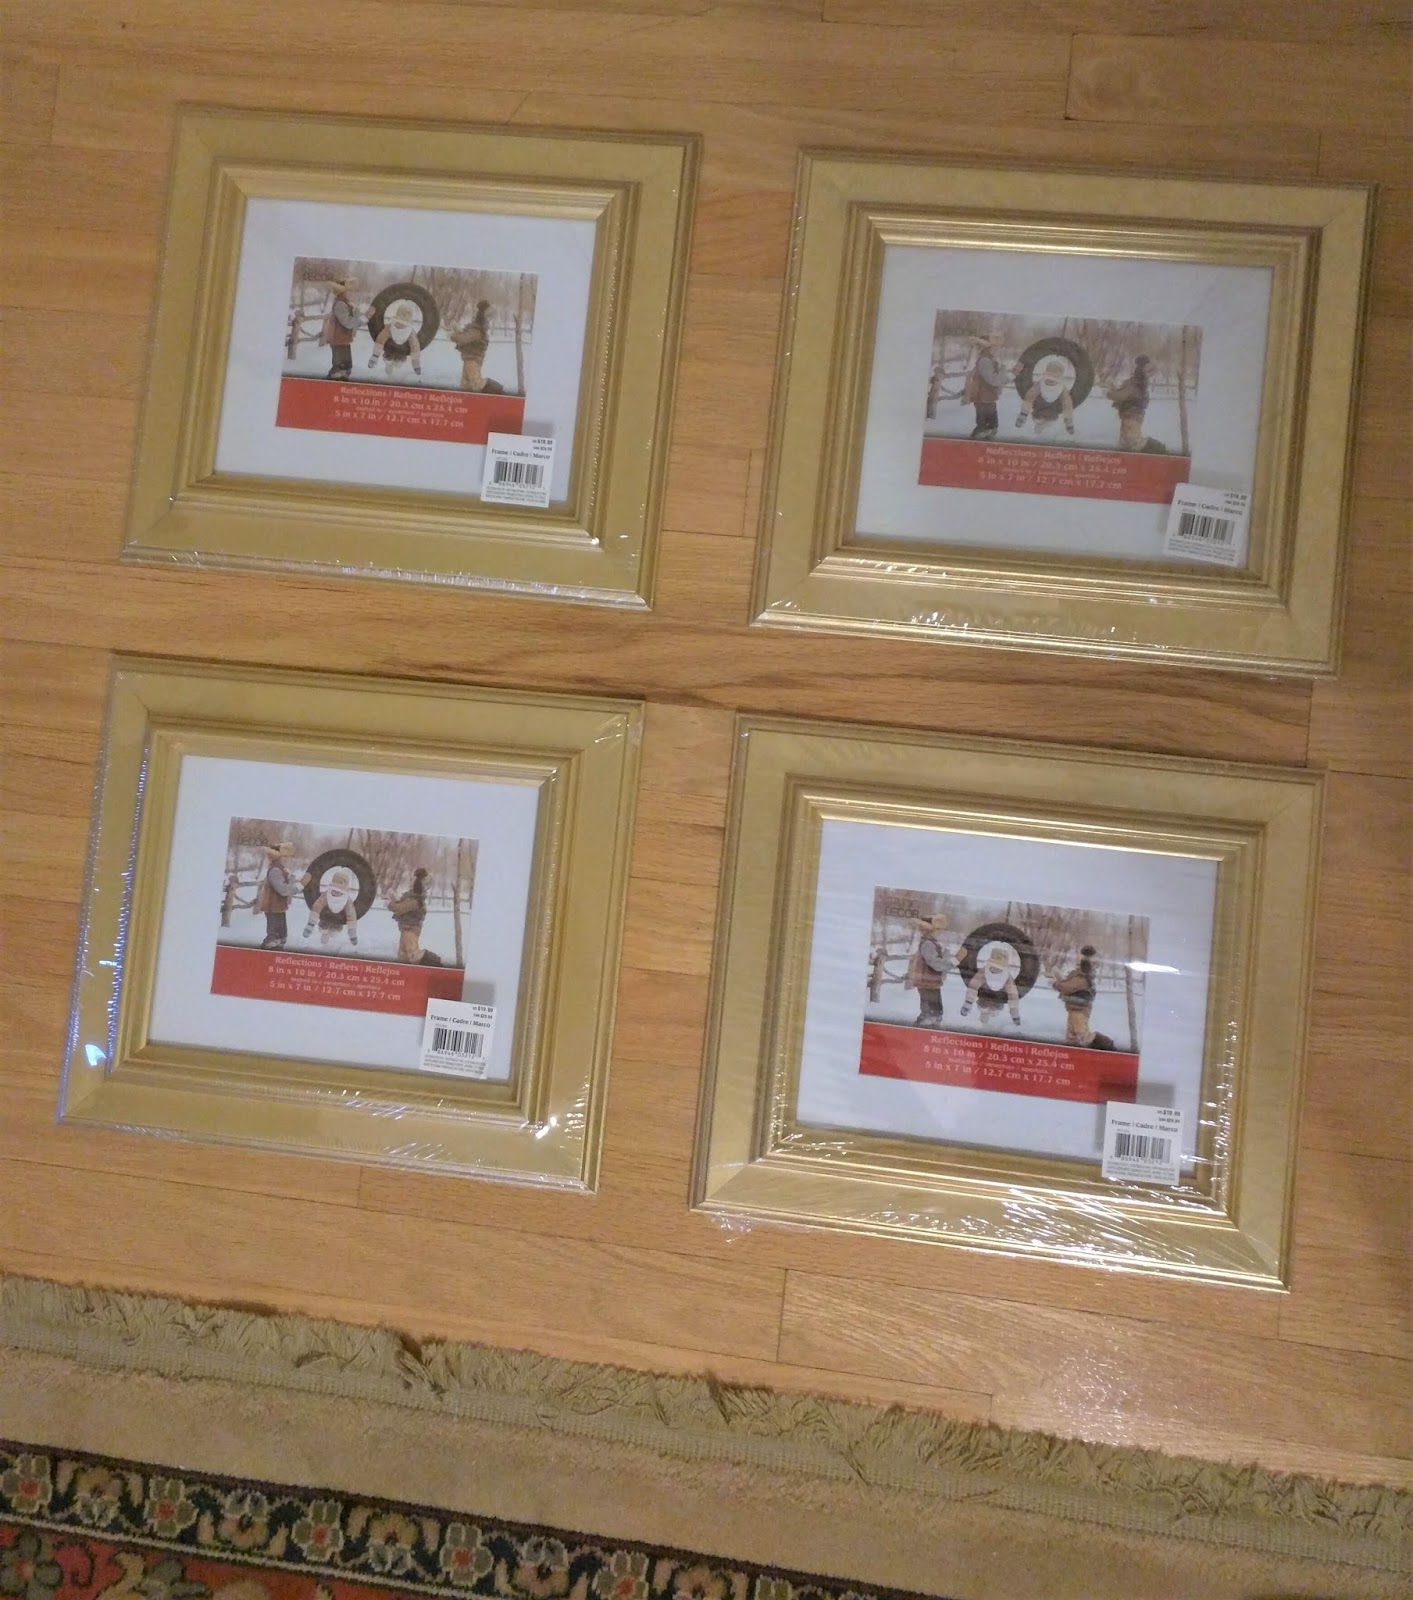
Several months ago--I think it was before Christmas--I came across these gold frames at Michael's. They were marked down to 9.99 in a clearance bin. I had to get them. I knew I would put them to good use, eventually.


So one afternoon as I was trying to figure out what direction to go in the dining room, I had the crazy idea to create my own art and use the gold frames that were patiently awaiting a tenant.

These will give you an idea of what I was hoping to accomplish.

Birch Lane
Pinterest


Hayneedle

I didn't want anything too fancy, just some color and some character which abstract art definitely gives. 

What I did

I started by taping off an area slightly bigger than the opening of the mattes in the frames--about 5 1/2" by 7 1/2." Next, I simply started making marks, swirls, some cirlces, half circles, etc., with the small paint brush. The first three came easily and only took one draft. I liked them immediately. But for some reason, I had trouble getting the fourth one to look acceptable and blend with the other three. It took at least three tries before I was happy with it.  


After each one dried, I took the mattes from the frames, placed them over the paintings, cut them to size, taped them in place, and put the frames back together. 


Where I hung them

I ended up putting them vertically on both sides of the China cabinet.


I also think these would be really cute in a nursery or child's room in other colors. The paint is less than $1 and it really took no time to complete the project. So the next time you come across inexpensive frames you love, go ahead and grab them. We'll find--or create--something to go in them!

Kathryn

Thursday, November 17, 2016

AN ART LESSON AND SOME OLD FAVORITES

When I was in high school, one of the classes on my schedule my senior year was called American Studies. The class captured me in ways very few others did. We left the high school by bus each day and were transported to a building downtown where we spent about half the school day. We learned the basics: English, science and social studies, but we learned extras, too.

Our class met in a historic building known as the "old jail." It served as the county jail from 1856-1890. It's one of the oldest buildings in town. It's a two-story, brick building that is unfortunately now on the "places in peril" list.

Image Source

One of the "extras" we were introduced to in the old jail was art, specifically impressionism. I loved everything about it: the colors, the subjects, the serenity, the classic look and style it adds--all of it. Here are a few of the painters I met in my American Studies class.

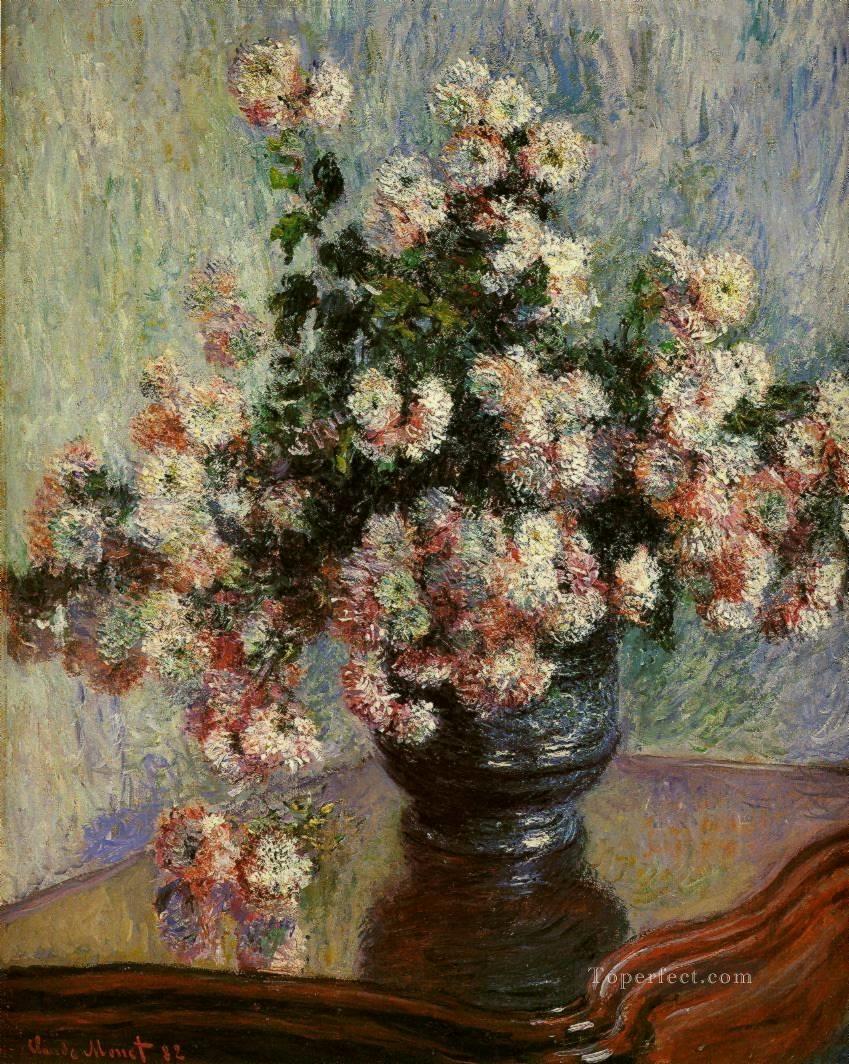
CLAUDE MONET

My favorite from Monet is Chrysanthemums. I had a giant print of it framed and over my couch for years. I'd actually forgotten about it until I was getting this post together.

Image Source

EDOUARD MANET

This is The Railway by Manet. The shades of blue and the simple scene are what stands out to me. For a little more insight, here is a short video I found.


This is another work of Manet.  A King Charles Spaniel.


MARY CASSATT

Mary Cassatt is probably my favorite. Her subjects were often people, usually women and children.


Other than three of the finest teachers in education at the time, the best part of American Studies was our field trip to Washington, D.C. I still have such vivid memories of the trip, even though it seems like a lifetime ago. I'm thankful and grateful my parents were able to send me. While there, we visited the Metropolitan Museum of Art and saw the works we had studied in class. It was wonderful to see them up close and personal. I bought the previous three prints as souvenirs.

When I became an "adult" and had a place of my own, I had the prints framed. I've been using them since.


The frames need to be updated, but the prints still look great and hold significant sentimental value. They've traveled the house--bathroom, bedroom, and they currently reside in the living room.


Thank you, Mrs. Ward, Mrs. Crowder, and Mrs. Sloan for making me think, learn, and love all things American Studies.

Now I'm curious. What's the oldest thing you are using to decorate in your house?

Kathryn